
Hi everyone!
In latest article I created the walking skeleton of “Project Ramuh”, now time has come to deploy it on the cloud, using Kubernetes.
Introduction
About Google Cloud Platform and Kubernetes
Google Cloud Platform (a.k.a. GCP) is Google solution for cloud computing services. It provides many options, from simple IaaS (Infrastructure as a Service) to complete PaaS (Platform as a Service).
A description of all the services available is available in this doc.
In this chapter, we will use CaaS (Container as a Service) solution of GCP to deploy our walking skeleton. Google solution is based on its open source containers orchestration system called Kubernetes.
Containers and container images
A container is a standard unit of software packaged with all its dependencies, and that can be deployed (“shipped”) quickly and transparently from an environment to another.
The containers of an application are created based on a container image, which includes everything needed to run the application.
There are multiple container technologies available on the market, but for this project I will use the most common one: Docker. For more information about how to install Docker, please refer to Docker documentation.
Preliminary caution
Unlike for previous article, cloud deployment was an uncharted territory for me while starting this post. However I hope this may help someone like me interested in scratching the surface of cloud computing and Kubernetes.
Containerizing the application
The first thing to do before deploying our application is to create container images of project’s applications. Let’s start with project’s back-end.
ramuh-grid-overlay-provider app containerization
For containerizing my Spring back-end application, I will use Jib maven plugin that allows to create docker images as part of maven lifecycle.
Generating a Docker image of a Spring application with Jib is as simple as adding a plugin in our Maven pom.xml file.
<project>
  ...
  <build>
    <plugins>
      ...
      <plugin>
        <groupId>com.google.cloud.tools</groupId>
        <artifactId>jib-maven-plugin</artifactId>
        <version>${jib.maven.plugin.version}</version>
        <configuration>
          <to>
            <image>ramuh/grid-overlay-provider</image>
          </to>
          <container>
            <ports>
              <port>8080</port>
            </ports>
          </container>
        </configuration>
      </plugin>
      ...
    </plugins>
  </build>
  ...
</project>
The Docker image of the application can be generated locally using the following command line:
mvn compile jib:dockerBuild
It is also possible to connect to an external registry provider. Jib maven plugin documentation lists some available registries and associated configuration.
Now we can check that the image has been correctly created by running it and testing our application:
docker run --rm -it -p 8080:8080 ramuh/grid-overlay-provider:latest
and in another terminal:
curl -F gridFile=@myInputGridFile http://localhost:8080/overlay
ramuh-front app containerization
Environment
For containerizing the web application in React, we will first have to handle a problematic topic: environment variables.
By default, React evaluates environment variables at build time. That means that, if I want to keep only the result of React build in my final Docker image (to make it lightweight), I would have to create one version by target environment. Even if it is not a big deal for a small personnal project, I was interested in getting a concrete solution to that issue.
This article provides potential solutions. As its author, I chose the fourth one, i.e. to modify my application to load environment variables at page loading, using a Javascript configuration file.
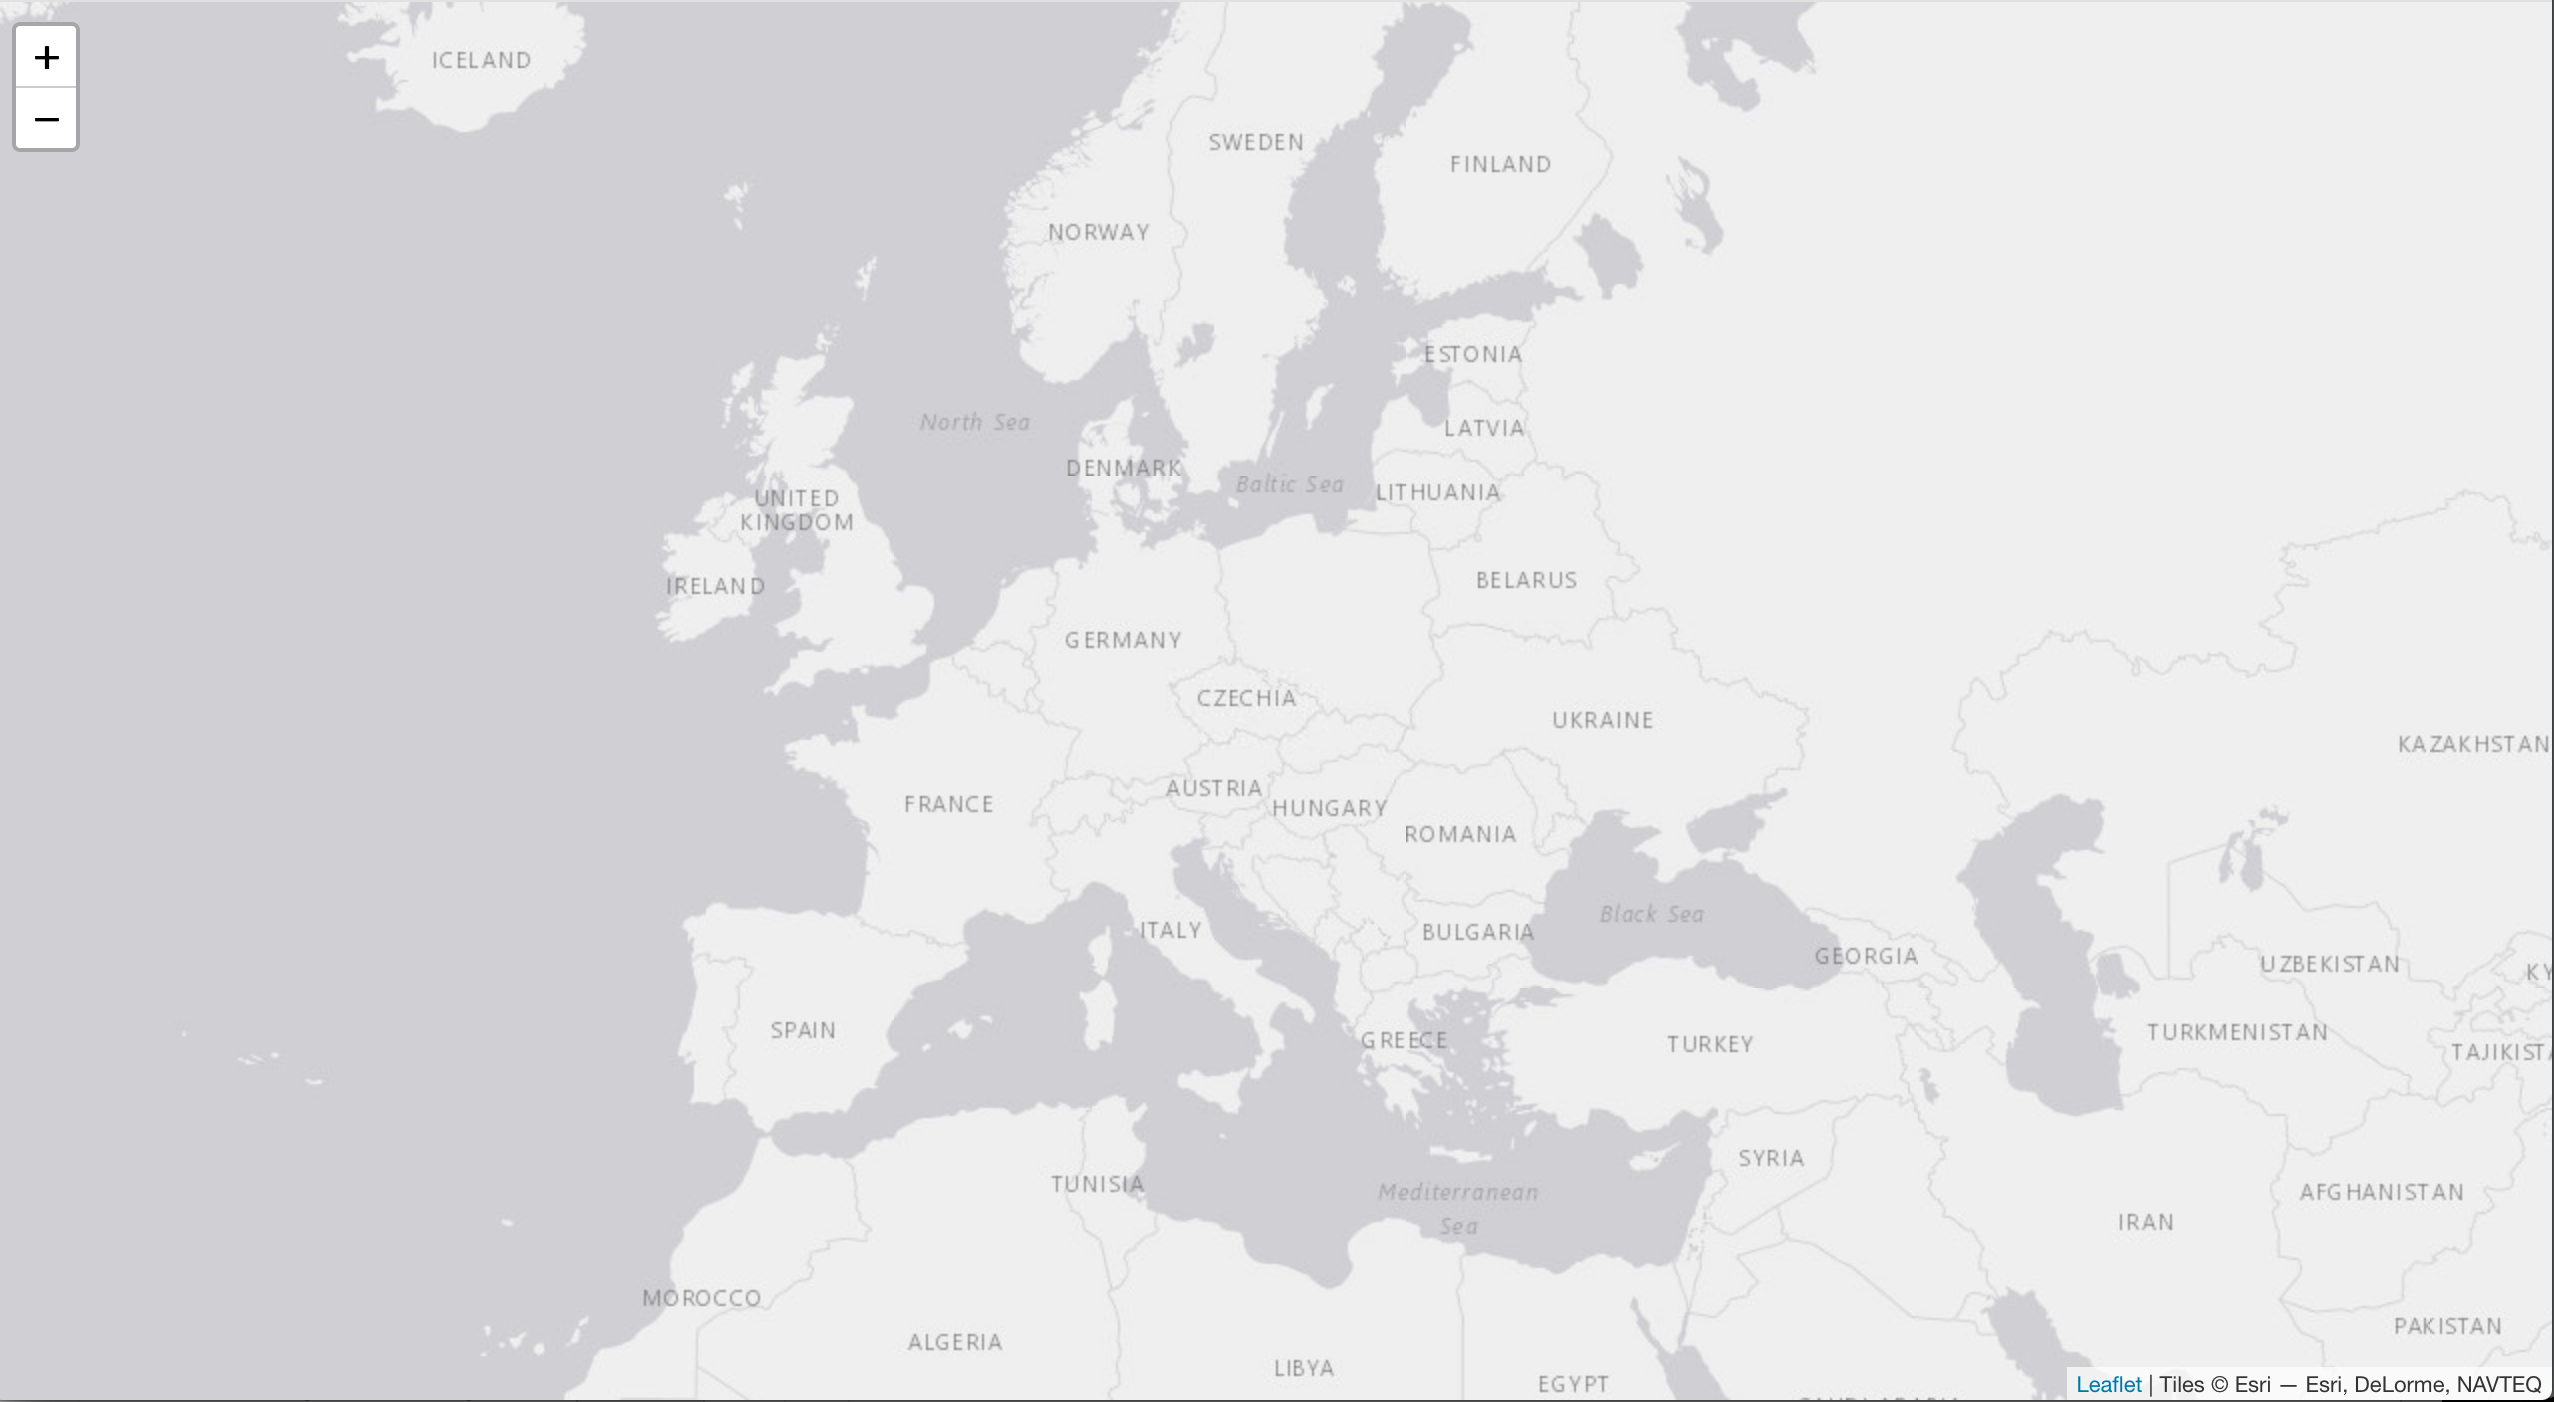
Each deployment of Project Ramuh front application must provide a config.js in public directory that will declare the environment variables.
window.RamuhEnv = {
  RAMUH_GRID_OVERLAY_PROVIDER_URL: "http://localhost:8080/overlay",
  INITIAL_MAP_CENTER_LAT: 49.8,
  INITIAL_MAP_CENTER_LNG: 16.6,
  INITIAL_MAP_ZOOM: 4,
}
Associated code changes can be found on the project’s repository.
Dockerfile
Unlike grid overlay provider application, I used standard Dockerfile for generating the front application image. In order to keep lightweight image, I used two-stage build.
First a node based image is used to generate the production build of our application, and then generated application is deployed in an nginx image.
FROM node:14.1.0-alpine3.11 as build
WORKDIR /app
ENV PATH /app/node_modules/.bin:$PATH
COPY package.json ./
COPY package-lock.json ./
RUN npm ci --silent
RUN npm install react-scripts@3.4.1 -g --silent
COPY . ./
RUN npm run build

FROM nginx:1.18.0-alpine
COPY --from=build /app/build /usr/share/nginx/html
EXPOSE 80
CMD ["nginx", "-g", "daemon off;"]
I also added a .dockerignore file to avoid copying unwanted directories in Node build image.
node_modules
build
.dockerignore
Dockerfile
Finally, I added a script target to my package.json file, that trigger the docker image creation.
...
  "scripts": {
    ...
    "docker": "docker build -t ramuh/front ."
  },
...
Now, the Docker image can be built in one command.
npm run docker
As before, the image can be tested by launching the web application.
docker run --rm -d -p 80:80/tcp ramuh/front:latest
Open a browser and connect to the web application on http://localhost.
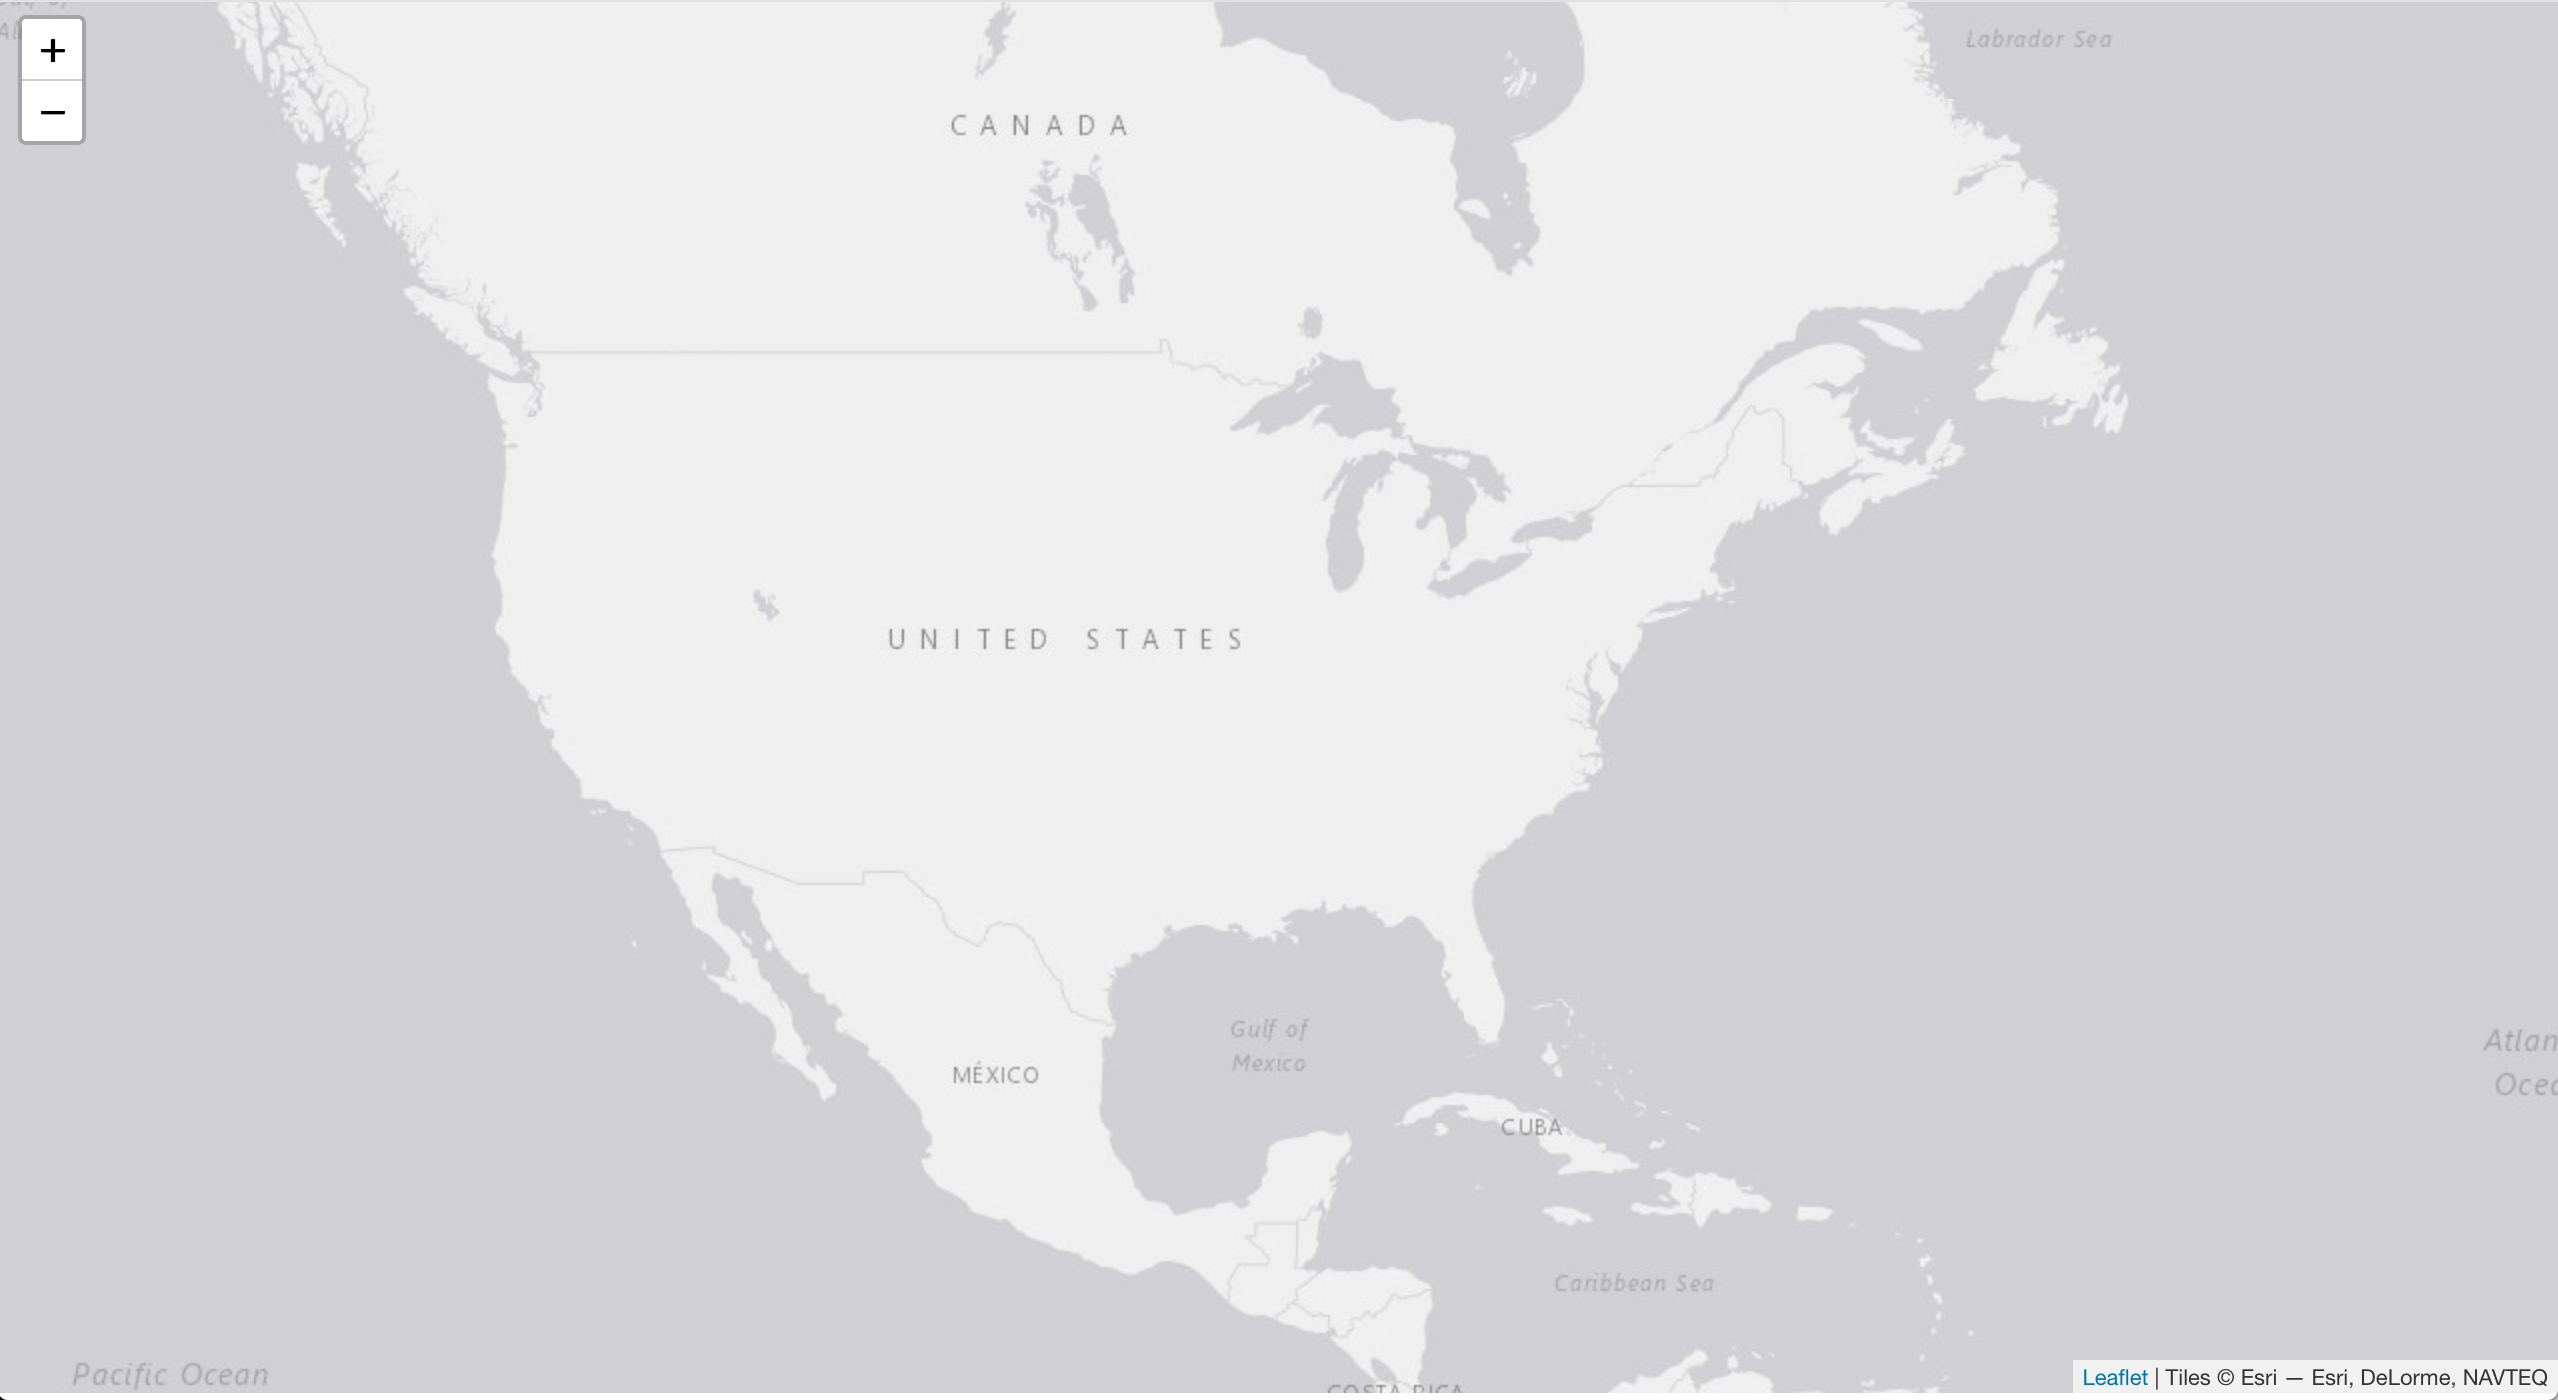
It is possible to provide custom configuration for the application by copying public/config.js file and customizing the env variables. For example, it is possible to modify default viewport of the application.
window.RamuhEnv = {
  RAMUH_GRID_OVERLAY_PROVIDER_URL: "http://localhost:8080/overlay",
  INITIAL_MAP_CENTER_LAT: 38.2,
  INITIAL_MAP_CENTER_LNG: -90,
  INITIAL_MAP_ZOOM: 4,
}
Then overload the default configuration file while creating your container.
docker run --rm -d -p 80:80/tcp -v /tmp/config.js:/usr/share/nginx/html/config.js ramuh/front:latest
Now the web application is configured to be centered on USA.
Deploying containers on GCP and Kubernetes
Now that my application is “dockerized”, I am going to deploy it on Google Cloud Platform, orchestrated by Kubernetes.
The application architecture will become a bit more complex.

Trying GCP for free
For this tutorial, as it was my first time using Google Cloud, I had the opportunity to use the free trial offer of the Google Cloud Platform services, which gives access to all products with 300$ credits for a full year.
Creating our project
The first step, after creating an account for free trial, is to create a project and enable all expected services. These pre-requisities are listed in this tutorial.
I chose the option to use command line tools locally, by installing Google Cloud SDK on my laptop.
Pushing our docker images on Google Cloud registry
While creating a new project, Google Cloud automatically assign a project ID to it, that will be used to create your own Docker images registry.
On my side, the generated ID was project-ramuh. So let’s start by tagging our previously generated images with correct ID.
docker tag ramuh/grid-overlay-provider:latest gcr.io/project-ramuh/grid-overlay-provider:latest
docker tag ramuh/front:latest gcr.io/project-ramuh/front:latest
Configure Docker access to Google Container Registry.
gcloud auth configure-docker
Finally push them on Google Cloud Registry.
docker push gcr.io/project-ramuh/grid-overlay-provider:latest
docker push gcr.io/project-ramuh/front:latest
Configuring Kubernetes cluster
My images are now available on Google registry, associated with my project. I have then to create a new Kubernetes cluster to prepare the deployment of the application.
Kubernetes seperates physical (or virtual) machines that are called nodes to actual application deployed on them, called pods. To permit a redundancy of the underlying machines of my cluster, I created two nodes.
gcloud container clusters create project-ramuh-cluster --num-nodes=2
Defining our deployment
Kubernetes defines many kind of resources that may be part of an application deployment. Our walking skeleton, with its limited feature, will be composed of a few ones:
- Config maps
- Deployments
- Services
- Ingresses
Each resource will be described in a YAML file that will be applied on our Kubernetes cluster and that defines the rules Kubernetes engine must follow to ensure our application is ready and healthy.
Front-end configuration with ConfigMap
The first resource we will see is the configuration map used for our front-end. Even if ramuh-front image contains a default configuration, it must be modified, at least for providing a correct URL for our back-end service.
Here is the YAML file describing this ressource:
apiVersion: v1
kind: ConfigMap
data:
  config.js: |
    window.RamuhEnv = {
      RAMUH_GRID_OVERLAY_PROVIDER_URL: "http://localhost:8080/overlay",
      INITIAL_MAP_CENTER_LAT: 38.2,
      INITIAL_MAP_CENTER_LNG: -90,
      INITIAL_MAP_ZOOM: 4,
    }
metadata:
  name: ramuh-front-config
We will see later what URL to put for RAMUH_GRID_OVERLAY_PROVIDER_URL constant.
To deploy it on the created cluster, save the YAML file as ramuh-front-configmap.yaml and run the following command:
kubectl apply -f ramuh-front-configmap.yaml
Front-end Deployment
To deploy the front-end application, I could have used pod resource, but I preferred using deployment one, which allow to define not only pods, but also a full replica set.
Below is the YAML description of the deployment resource:
apiVersion: apps/v1
kind: Deployment
metadata:
  name: ramuh-front
  labels:
    name: ramuh-front
    app: front

spec:
  replicas: 2
  selector:
    matchLabels:
      app: ramuh-front
  template:
    metadata:
      labels:
        app: ramuh-front
    spec:
      containers:
      - name: ramuh-front
        image: gcr.io/project-ramuh/front:latest
        imagePullPolicy: Always
        ports:
        - containerPort: 80
        volumeMounts:
        - name: config-volume
          mountPath: /usr/share/nginx/html/config.js
          subPath: config.js
      volumes:
      - name: config-volume
        configMap:
          name: ramuh-front-config
This file describe a deployment composed of two replicas of the following elements:
- the application container previously pushed to Google registry
- a volume used to configure it, that will replace config.js file with the content of our previously created ConfigMap.
To deploy it on the created cluster, save the YAML file as ramuh-front-deployment.yaml and run the following command:
kubectl apply -f ramuh-front-deployment.yaml
A small issue remains in this deployment. If the configuration changes, the associated pods will not be updated accordingly. Deployment will have to be deleted and created again to update it.
Front-end Service
I created two replicas of my front-end application, so for creating a single bridge to those two entrypoints, I created a front-end service that groups these pod together and that will be used by our Ingress (see below).
Below is the YAML description of the service resource:
apiVersion: v1
kind: Service
metadata:
  name: ramuh-front
  labels:
    app: ramuh-front
spec:
  type: NodePort
  selector:
    app: ramuh-front
  ports:
  - port: 80
    name: http
There are different type of services available in Kubernetes, but I chose NodePort one because it is the one needed with an Ingress configured as HTTP(S) load balancer.
To deploy it on the created cluster, save the YAML file as ramuh-front-service.yaml and run the following command:
kubectl apply -f ramuh-front-service.yaml
Back-end Deployment
Back-end deployment is simpler than front-end one, because no volume is needed yet.
apiVersion: apps/v1
kind: Deployment
metadata:
  name: ramuh-grid-overlay-provider
  labels:
    name: ramuh-grid-overlay-provider
    app: grid-overlay-provider

spec:
  replicas: 2
  selector:
    matchLabels:
      app: ramuh-grid-overlay-provider
  template:
    metadata:
      labels:
        app: ramuh-grid-overlay-provider
    spec:
      containers:
      - name: ramuh-grid-overlay-provider
        image: gcr.io/project-ramuh/grid-overlay-provider:latest
        imagePullPolicy: Always
        ports:
        - containerPort: 8080
        readinessProbe:
          httpGet:
            path: /actuator/health
            port: 8080
          initialDelaySeconds: 20
          timeoutSeconds: 2
          periodSeconds: 3
          failureThreshold: 2
I added a readiness probe, that will allow Kubernetes to know when the application is up and running. It is based on a pre-defined Actuator endpoint.
Moreover, this probe is needed for Ingress to accept the service, as it is explained in Google Cloud documentation
Small digression here, but when testing the Actuator health endpoint, I discovered that a bug in the application made Actuator default healthcheck to return an error, even if the application was up and running.
This was caused by the automatic discovering process of Actuator that, seeing my application contained Apache Solr jar (used by RDF4j implementation of CGMES triple store), triggered the creation of SolrHealthIndicator that did not succeed in connecting to default Solr server (which was not used and though did not exist).
I did have to modify Actuator configuration to disable this health indicator.
Back-end Service
The back-end service is quite similar to front-end one.
apiVersion: v1
kind: Service
metadata:
  name: ramuh-grid-overlay-provider
  labels:
    app: ramuh-grid-overlay-provider
spec:
  type: NodePort
  selector:
    app: ramuh-grid-overlay-provider
  ports:
  - port: 80
    targetPort: 8080
    name: http
I added port redirection in the service to ensure that our front-end and backend will both use port 80.
Platform Ingress
Ingress exposes routes to our services from outside the cluster. A detailed description of the Ingress resource can be found in Kubernetes documentation.
Our Ingress resource will be binded on a static IP to be accessible on the same IP whatever the modification we may apply on the resource. Google Cloud allows the creation of static IP, free of charge if binded to a running load balancer.
To create a static IP, run the following command:
gcloud compute addresses create ramuh-ip --global
You can retrieve the generated IP address with the following command:
gcloud compute addresses describe ramuh-ip --global
This IP will be the enrypoint of your web browser to the application deployed on the cluster. It is the one to use for the URL of your back-end in front-end ConfigMap.
Now, I can create my Ingress resource and add the specific annotation that tells Kubernetes which IP address to use.
apiVersion: extensions/v1beta1
kind: Ingress
metadata:
  name: ramuh-ingress
  annotations:
    kubernetes.io/ingress.global-static-ip-name: ramuh-ip
spec:
  rules:
  - http:
      paths:
        - path: /api/grid-overlay-provider/*
          backend:
            serviceName: ramuh-grid-overlay-provider
            servicePort: 80
        - path: /*
          backend:
            serviceName: ramuh-front
            servicePort: 80
As a sidenote, I did have to modify my backend to explicitely add an extra path to my controller, because the annotation rewrite-target is not supported by Google Kubernetes Engine yet. Another implementation of Ingress (like Nginx) could also have solved this issue.
To deploy it on the created cluster, like the other resources, save the YAML file as ramuh-ingress.yaml and run the following command:
kubectl apply -f ramuh-ingress.yaml
It may take a while before ingress is completely initiated.
Do not forget to replace the URL from your config map to http://<STATIC-IP>/api/grid-overlay-provider/overlay. The application is now available on http://<STATIC-IP>.
The front-end and the back-end should communicate smoothly, without any CORS issue now.
Deal with variant eu/us with kustomize
To allow easy customization of your deployment, it is also possible to use kustomize.
I did modify the deployment code to take benefit of that feature, and the result can be found on the project deployment repository.
Conclusion
In this post, I presented the deployment of the walking skeleton of Project Ramuh on Google Cloud Platform. Now it is time to stand back and look at the algorithms that can be used to create a good representation of the network map.
Thanks to the hard work done on this walking skeleton, I will be able to easily deploy this new feature on the application, when it will be ready.
But that’s another story…
See you soon
Sébastien